Creating a Button with Fireworks CS3
Developed by Joe Story
Buttons are a common item on many web pages. In this tutorial you will learn how to create a button in Fireworks and export it to Dreamweaver. This is a step-by-step tutorial is intended to teach you some basics about web design, Fireworks, and Dreamweaver. Click HERE for an example of a Fireworks generated button **Click on any of the images for a larger version |
Step One: Open Fireworks |
|
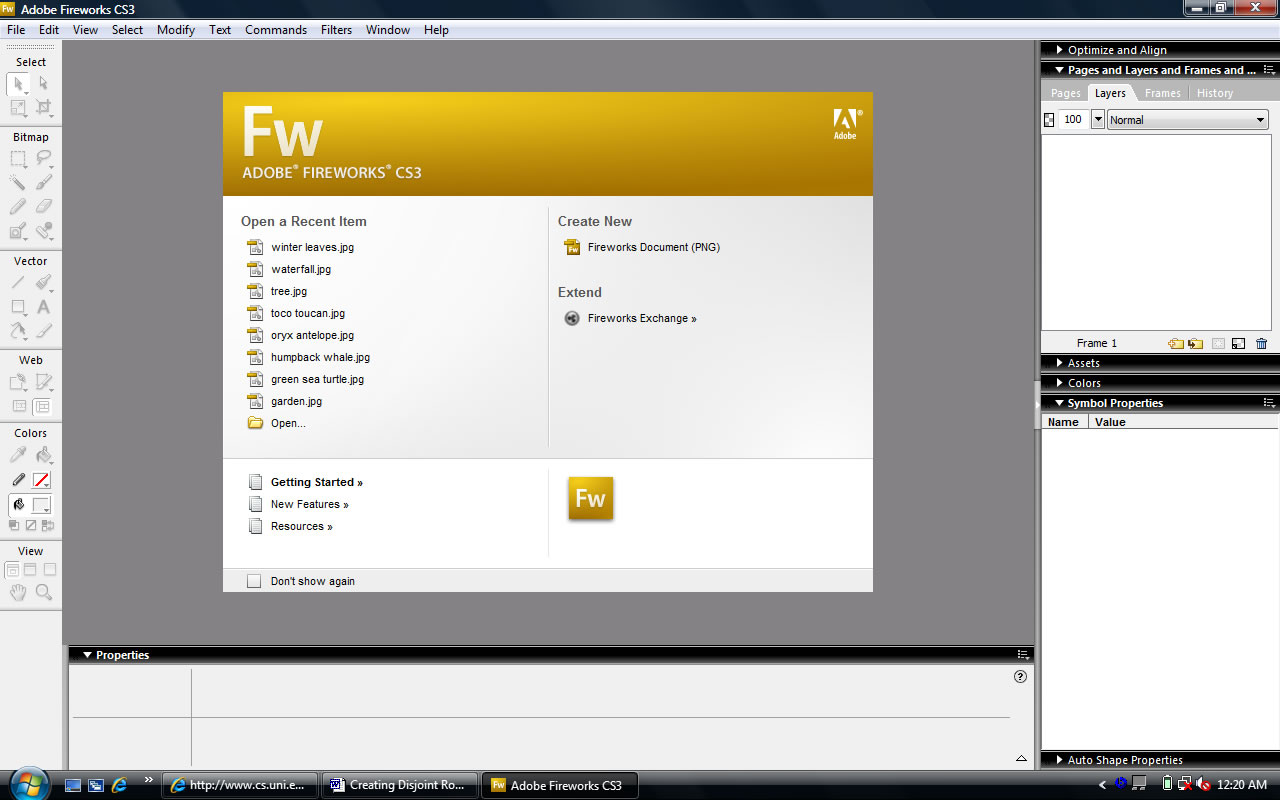
The first thing we will do is open Fireworks. This can be found in the Start Menu under Adobe Software. One Fireworks is open we will create a new Fireworks PNG Document.
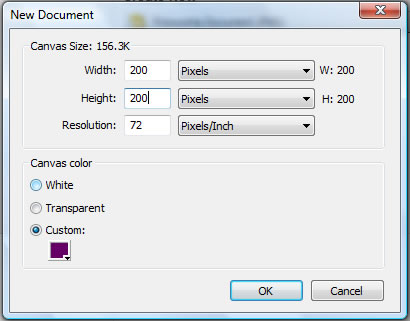
Once this is open we get a window asking us what we want in our new document. We need to tell Fireworks three things:
We will just put 200 for both width and height. We will be resizing it later. Leave the resolution at 72. The canvas color can be any color.
|
Fireworks Welcome Screen
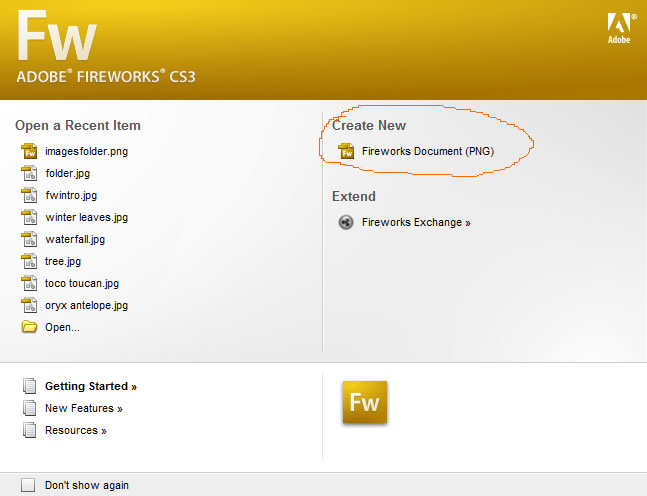
Create a New Fireworks PNG Document
Document Size
|
Step Two: Import a Button |
|
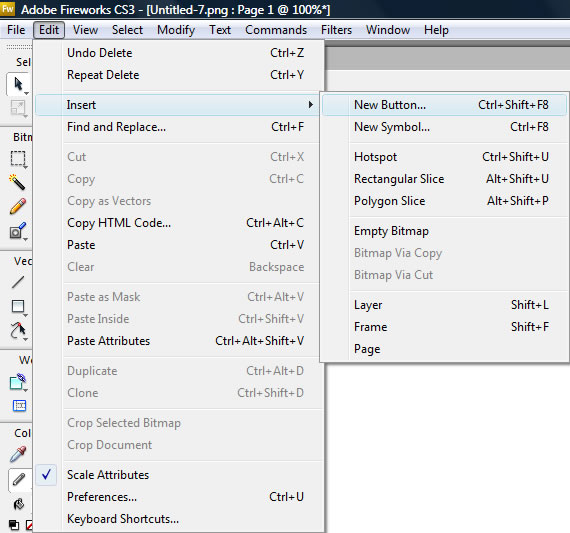
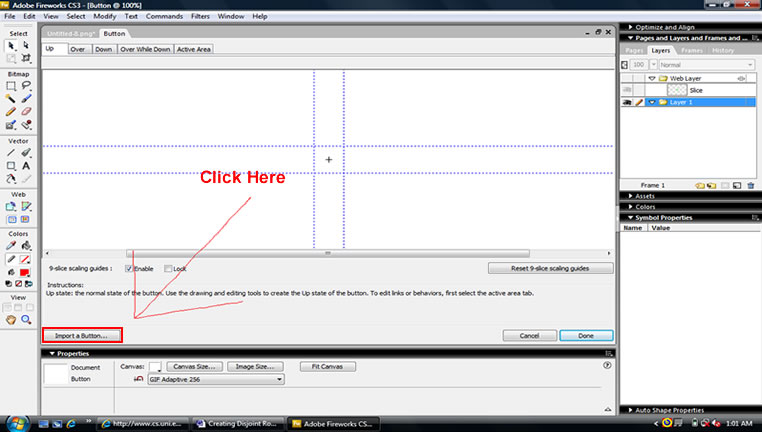
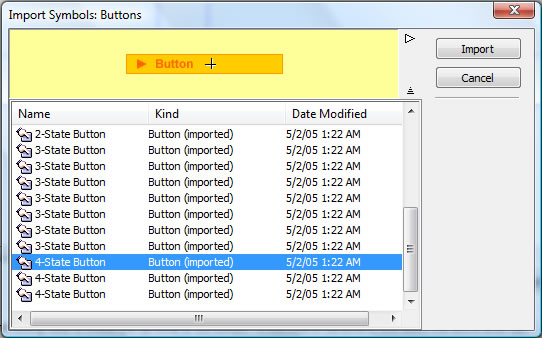
In this step we will add a button. To add a button click the Edit Menu and go to the insert command and select “Insert New Button”. Control+Shift+F8 is the keyboard shortcut for this step. From here you go to the import button screen. Click the “Import a Button” button at the bottom left of the screen. This will give you a window of button options you may choose from. You will notice that some of the buttons are two-stage, some are three-stage, and some are four stage buttons. This refers to the physical actions and changes the button goes through when a user rolls-over it or clicks on it. We will get into this more in a later step. Choose the third button from the bottom of the list. Once you have this button click import and your new button will appear in the center of the import button screen.
|
Inserting a New Button From Edit Menu
New Button on Stage
|

Step Three: Change Button Colors on the Upstate |
|
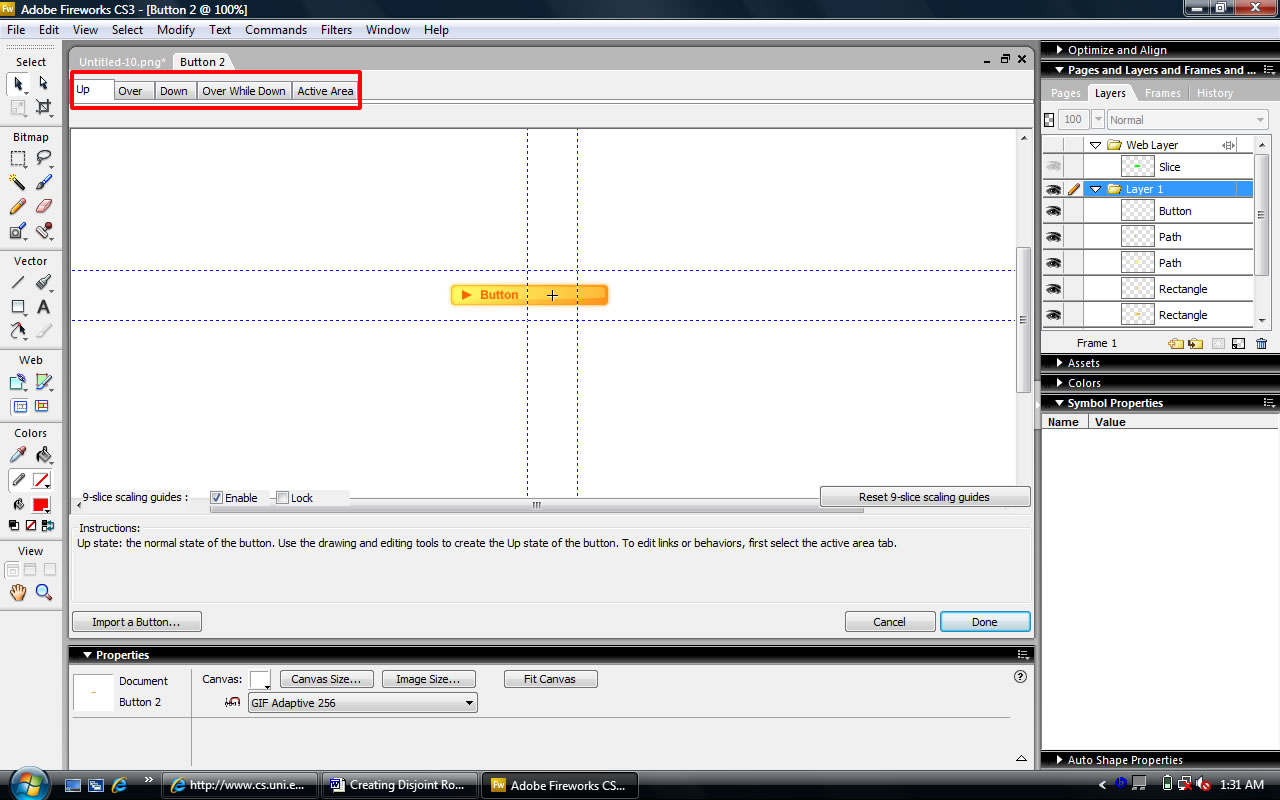
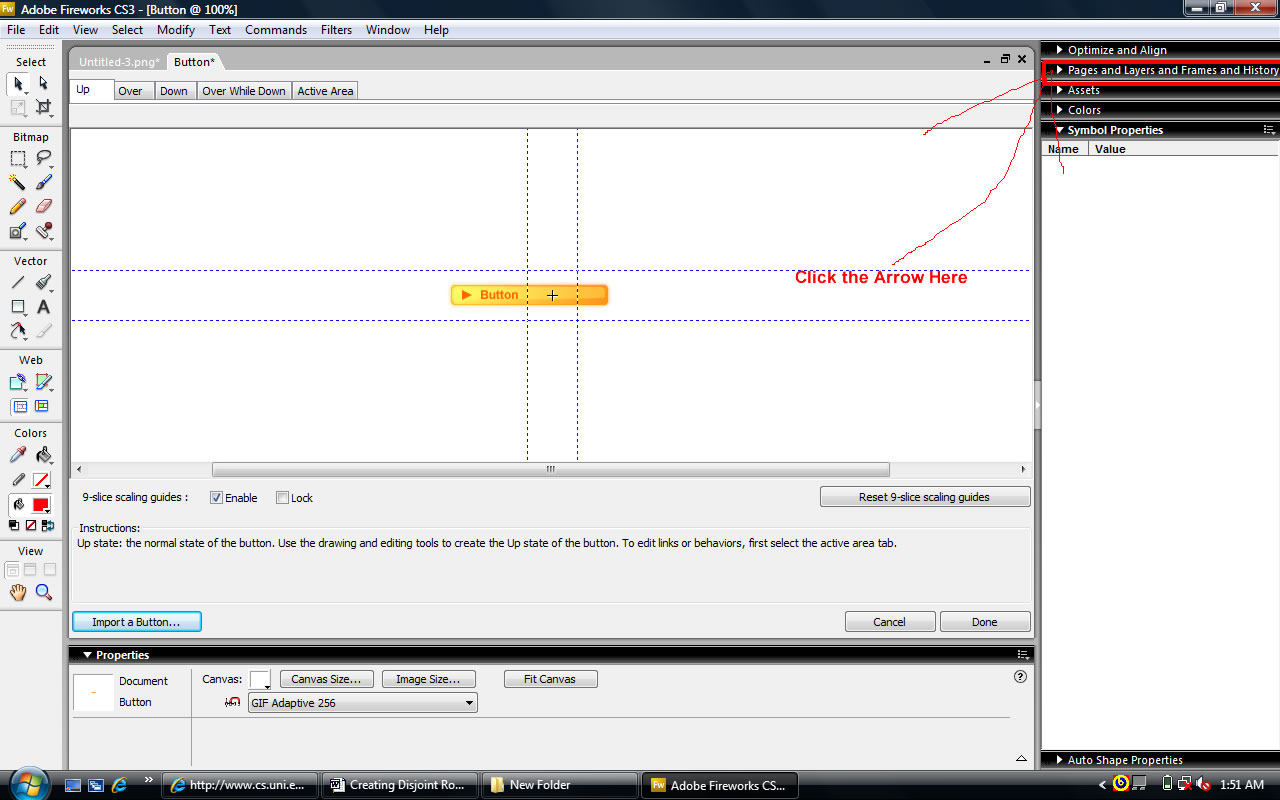
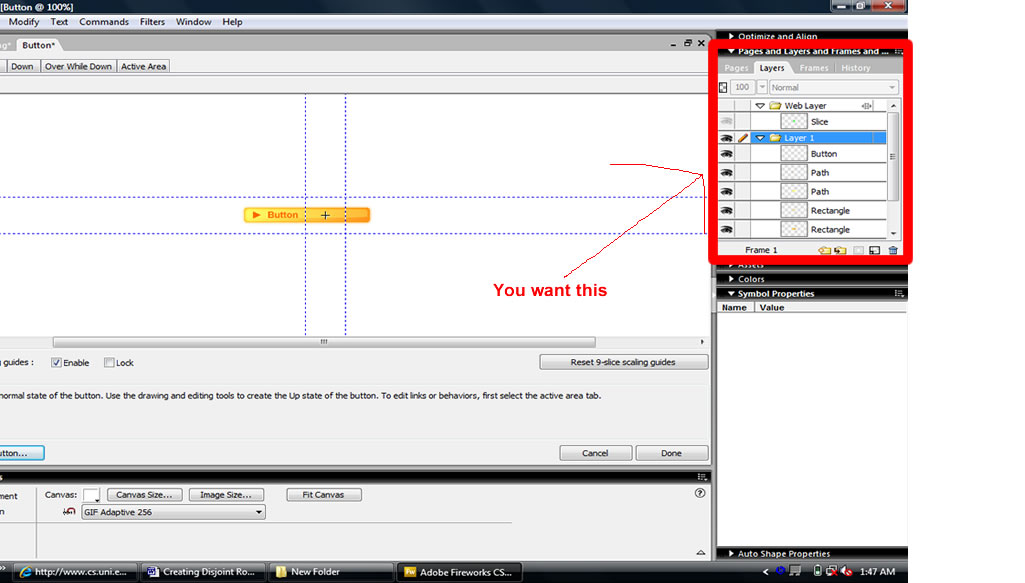
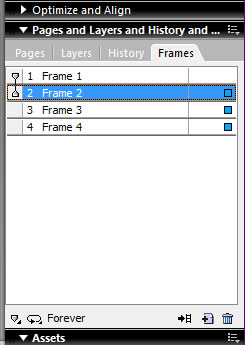
Now that we have our button you will notice that it has Iowa State colors. Let’s fix this problem by changing the colors on the button. This part has a lot of steps, but it’s not really that bad. When choosing colors remember to contrast up and over states and also choose a color that matches your webpage. If you look at the top left of your screen you will notice some button attributes. These are the button states. They are Up, Over, Down, Over While Down, and Active Area. Click through these and watch the button change. We will now change the colors and make the button glow when the user rolls over it. All a button is nothing more than a big swap image behavior. A swap image behavior means that when the user rolls over an image another image is triggered to appear. In Fireworks image swap behavior is done through frames. Open the frame options by clicking the arrow on the Pages and Layers and Frames and History panel on the top right side of the window. This will display all the frames and layers that are included in that frame. When this menu is open you will notice four tabs:
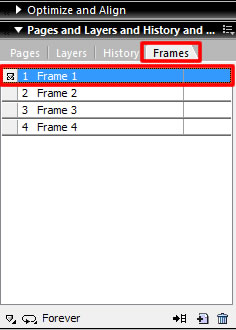
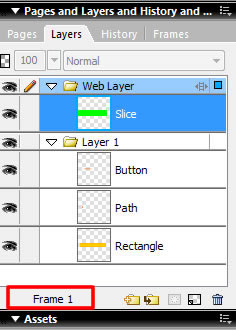
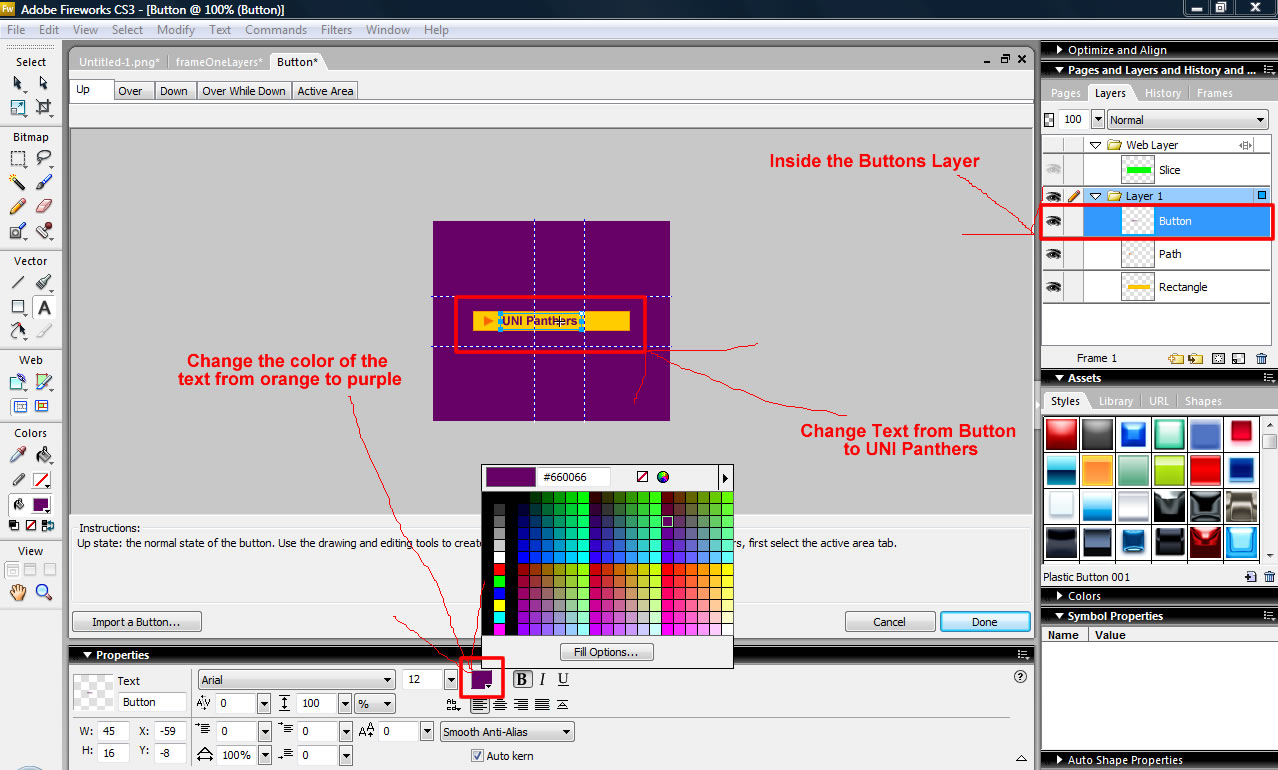
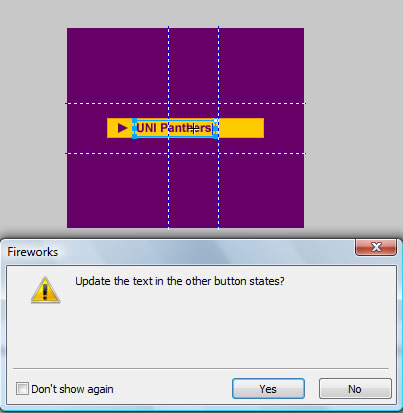
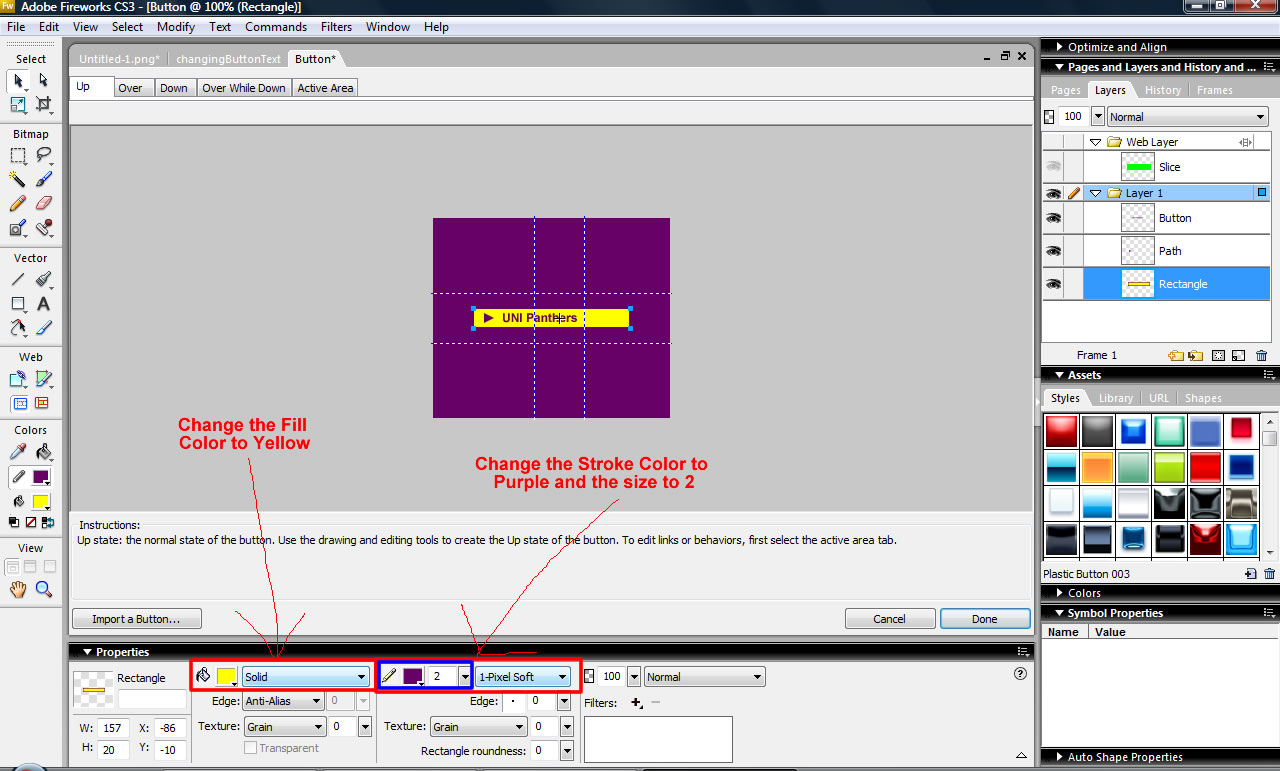
Click on the frames tab. This should show you four frames. Select frame 1. From here select the layer tab. This will give all the layers in frame one. This concept of frames and layers may be confusing to a beginner. The frames refer to the states of the button, while the layers refer to the individual traits of each state. If you go into the layers of frame two you will be playing with the colors on the rollover state of the button. This means, for example, if the color in layer one of frame one was yellow and the color of layer one in frame two was purple, the color would be yellow until the user rolled over it. Then that layer would change to purple. Remember though, contrast is the key when changing color combinations. This probably sounds confusing, so we’ll do one button together. In Frame one there are three layers: button, path, and rectangle. You can click on the eye to turn on or off this layer. Within the layers chose the Button Layer. You will notice this is the text. The Path refers to the arrow and the Rectangle is the Actual button itself. You will also notice that the Property Inspector changes as you click through them. We will edit the Button Layer. Click on the Button Layer. When you click on it the Button text should have a box around it. Double click inside the text and change the name from Button to UNI Panthers. When you do this a window will popup asking you if you would like to update the text in the other button states. Click yes. What this does is it changes the Button text to UNI Panther text in all the frames. When you are done with the text go to the path layer. Change the color of the arrow from orange to purple also. Now click on the rectangle. Here is where it gets somewhat confusing. When you have shapes in Fireworks there are two color properties:
The stroke color is a small pencil icon and the fill color is a paint bucket icon. Change the fill color to yellow and the stroke color to the same color purple as your text and arrow. Also increase the stroke to a size of 2. Let’s recap what we have done so far before moving on. We changed the colors of the button shown in frame one. Frame one is the up state of the button. This is what the user will see before they roll their cursor onto it.
Note- The 9-scale slicing option you see is a feature in a lot of Adobe software. When it is on it allows you to resize an object and retain its proportionality. |
Button States
Frame Menu Open
Frames Tab with Frame 1 Selected
Update Text
Changing the Stroke and Fill
|
Step Four: Change Button Colors on the Over-state |
|
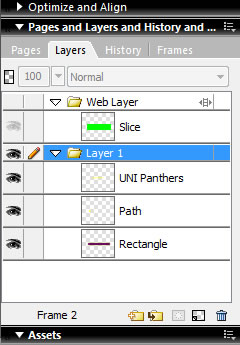
In this step we will change the colors on the over-state. Frame 2 is the over-state of the button. When we do this we want contrast. The best way to accomplish this is to reverse the colors from Frame 1 (make this button have a yellow text, arrow, and stroke color with a purple fill in the button). To do this click the frames tab again. This will show all four frames. Select Frame 2. Click the layers tab again. You will notice that the layers are exactly the same as Frame 1. Do the same thing you did in Frame 1, only this time reverse the colors:
|
Frame 2 Selected
Frame 2 Layers
|
Step Five: Adding a Glow to the Button Over-State |
|
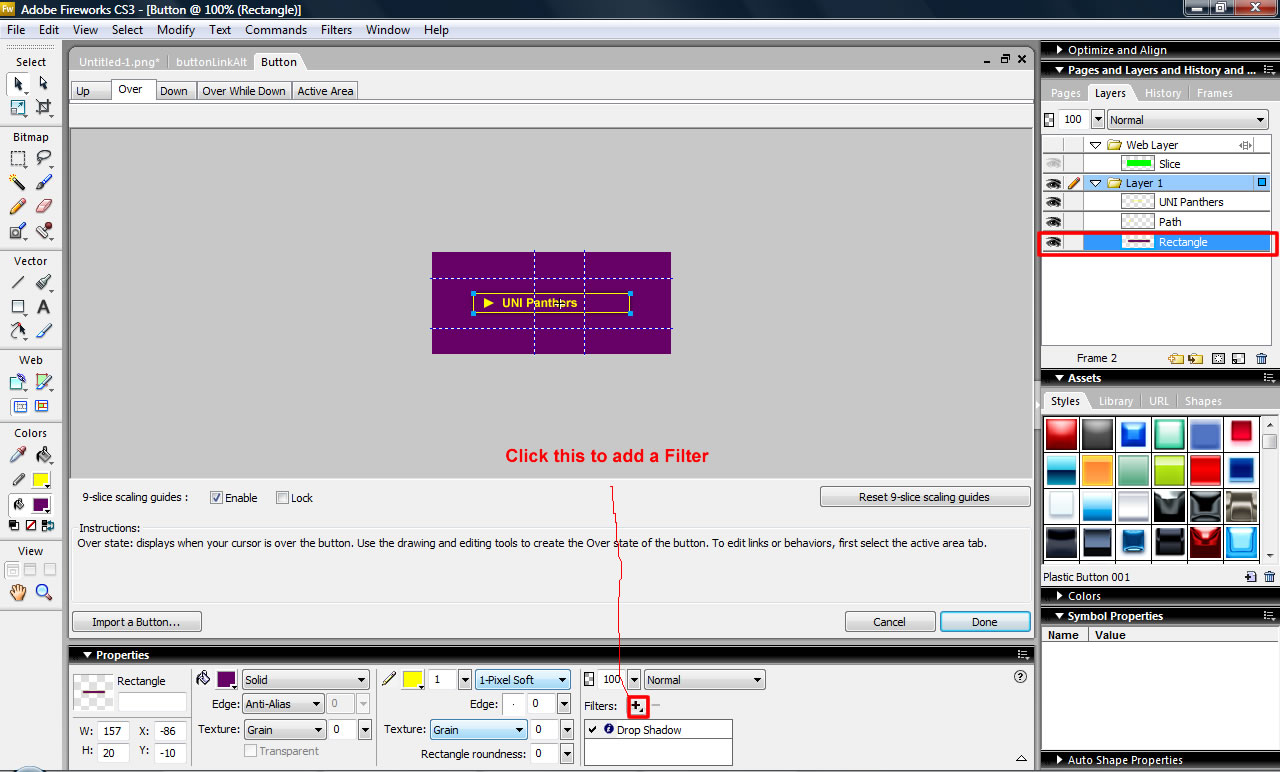
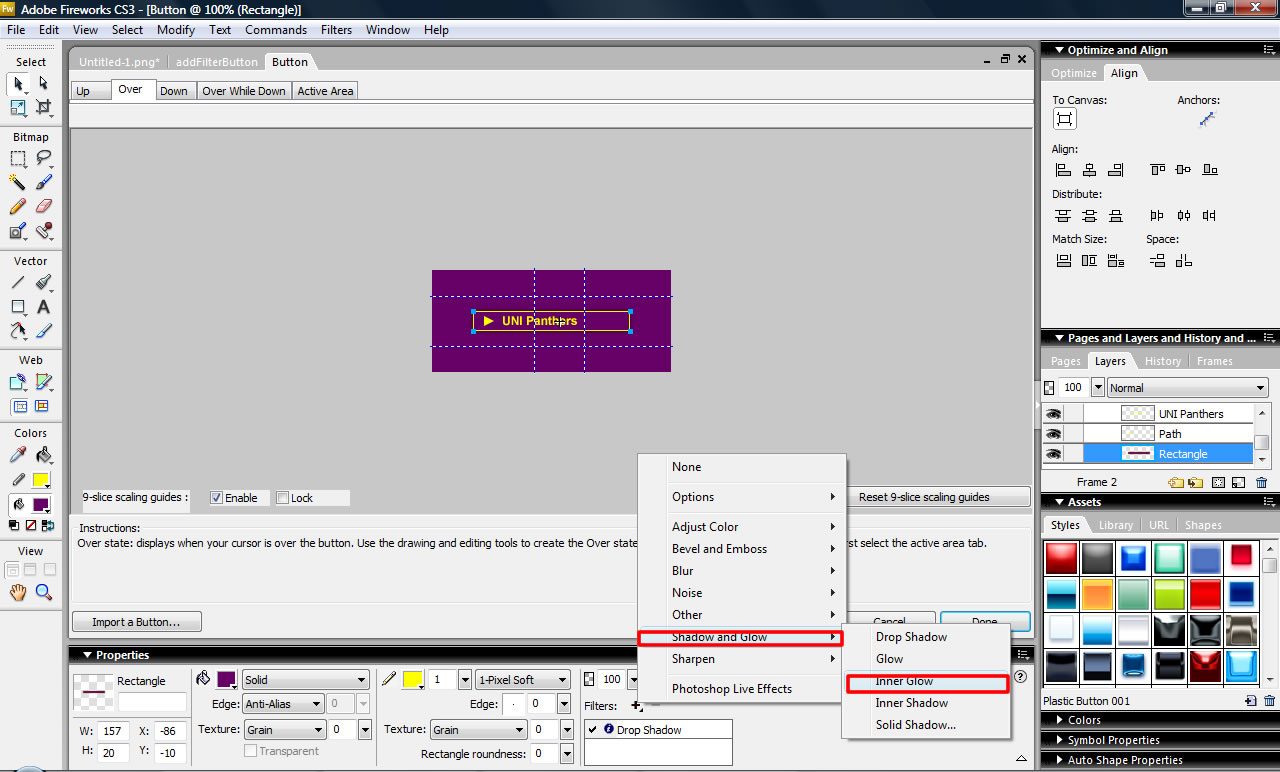
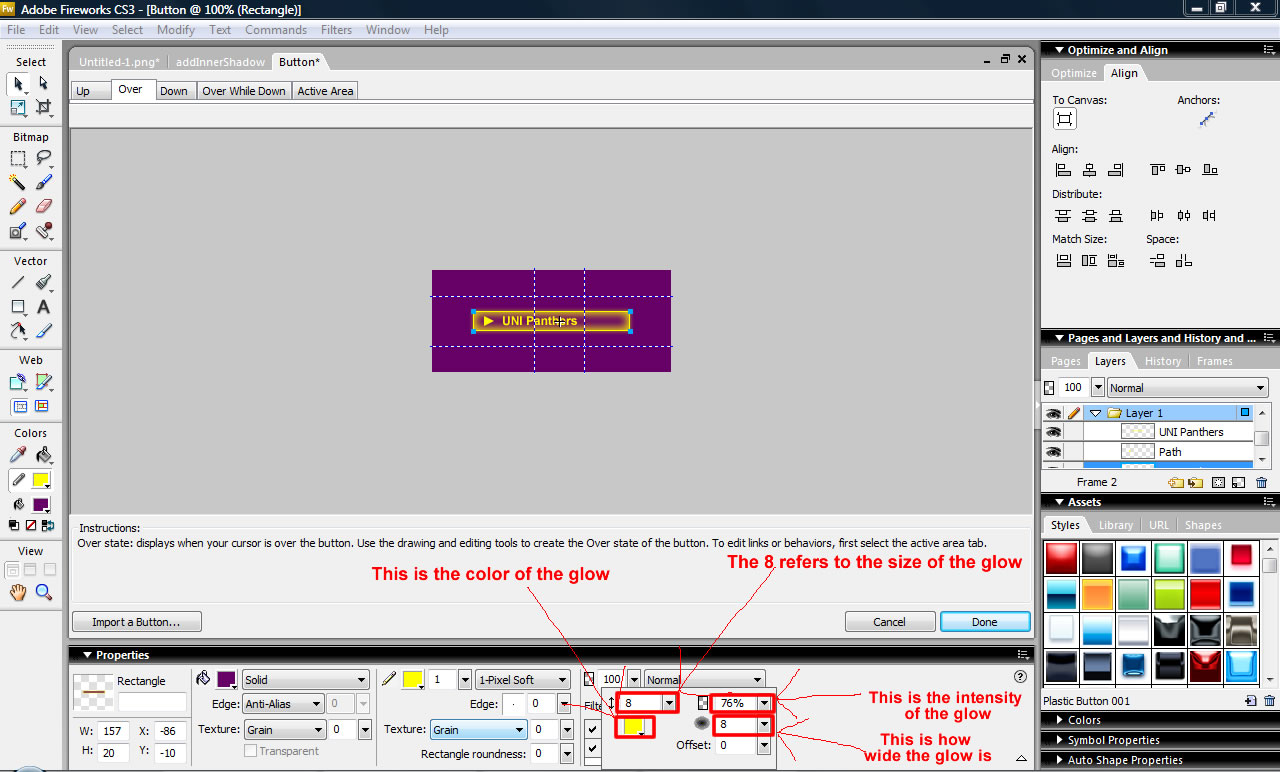
In this step we will make the button glow when the user rolls over it. Since we want the button to glow when they roll over it we will be editing in Frame 2. Select Frame 2 and go into its layers. We will ad an inner glow to the rectangle. Select the rectangle in the layers. Go to the Property Inspector and Select Filters. A window will show you up with several options. Select Shadow and Glow and from there choose Inner Glow. This will add an inner glow to the rectangle. From here you can choose options for your glow. Choose something that is in good design (rhetorically correct for your site and is in color contrast from your button and its surroundings). I’m going to add a yellow glow. With a width of 8, an opacity of 93%, and a softness of 6. |
Add a Filter
Inner Shadow
Options
|
Step Six: Editing the Down and Over-While-Down States |
|
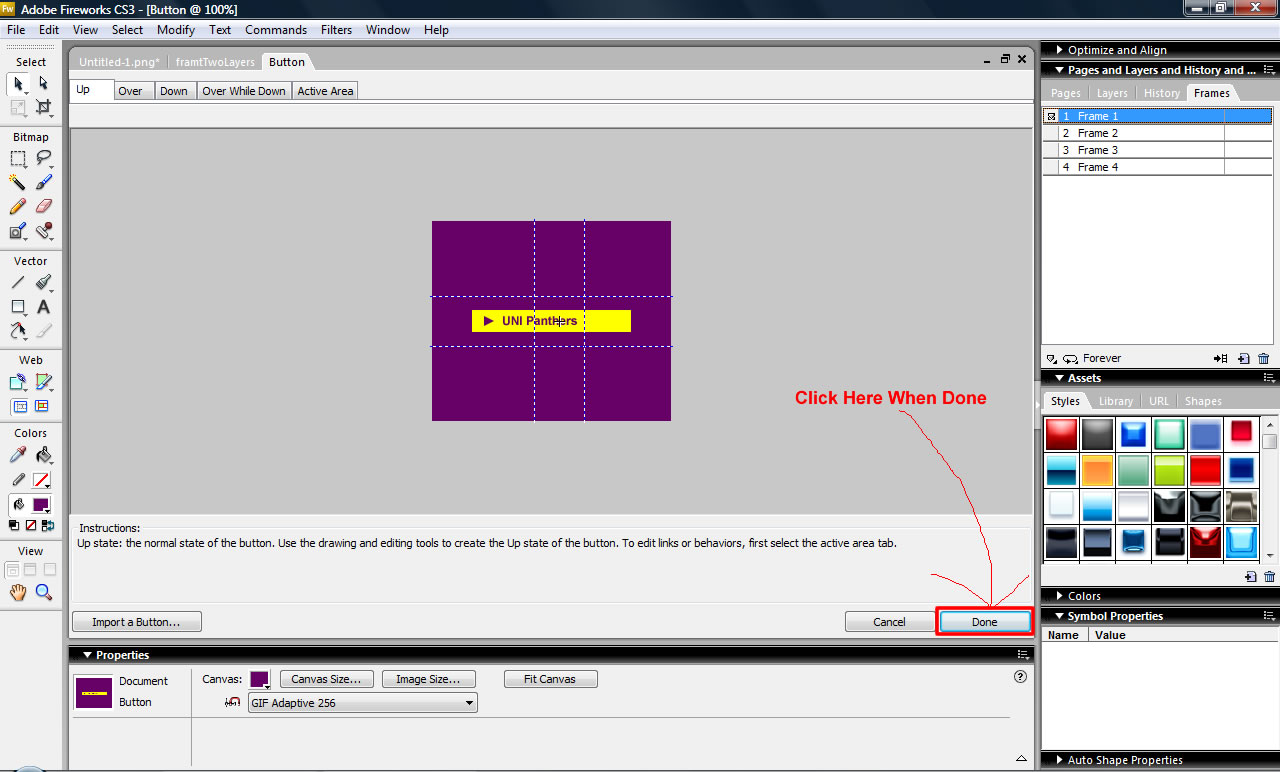
In this step we will change the colors for the Down state of the button. When the user clicks the button this color shows. What I usually do with this is just Edit the down to be the same as the up and the down-while-over to be the same as the over. The reason I do this is because Fireworks doesn’t make great button effects. Once a user has clicked a button it does not return to its original state. I find that by editing the button this way it is as close as it can get. Just to go over this again:
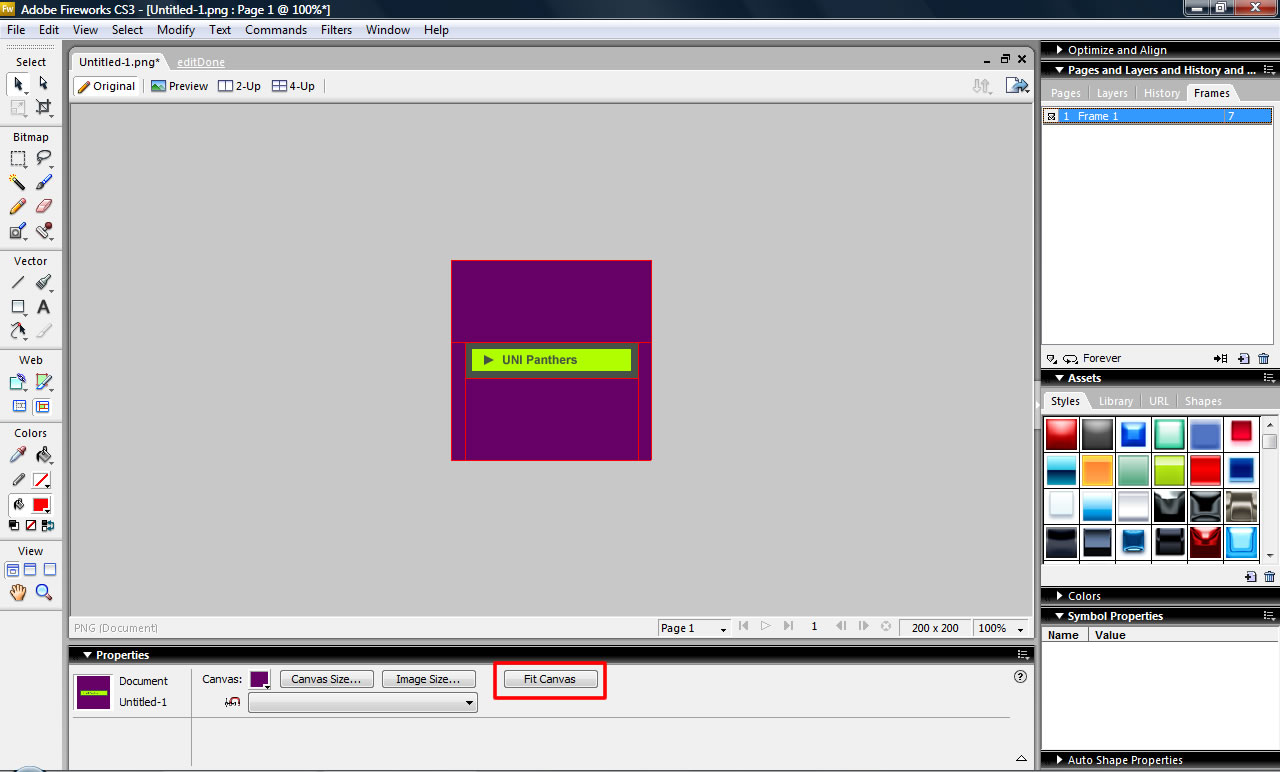
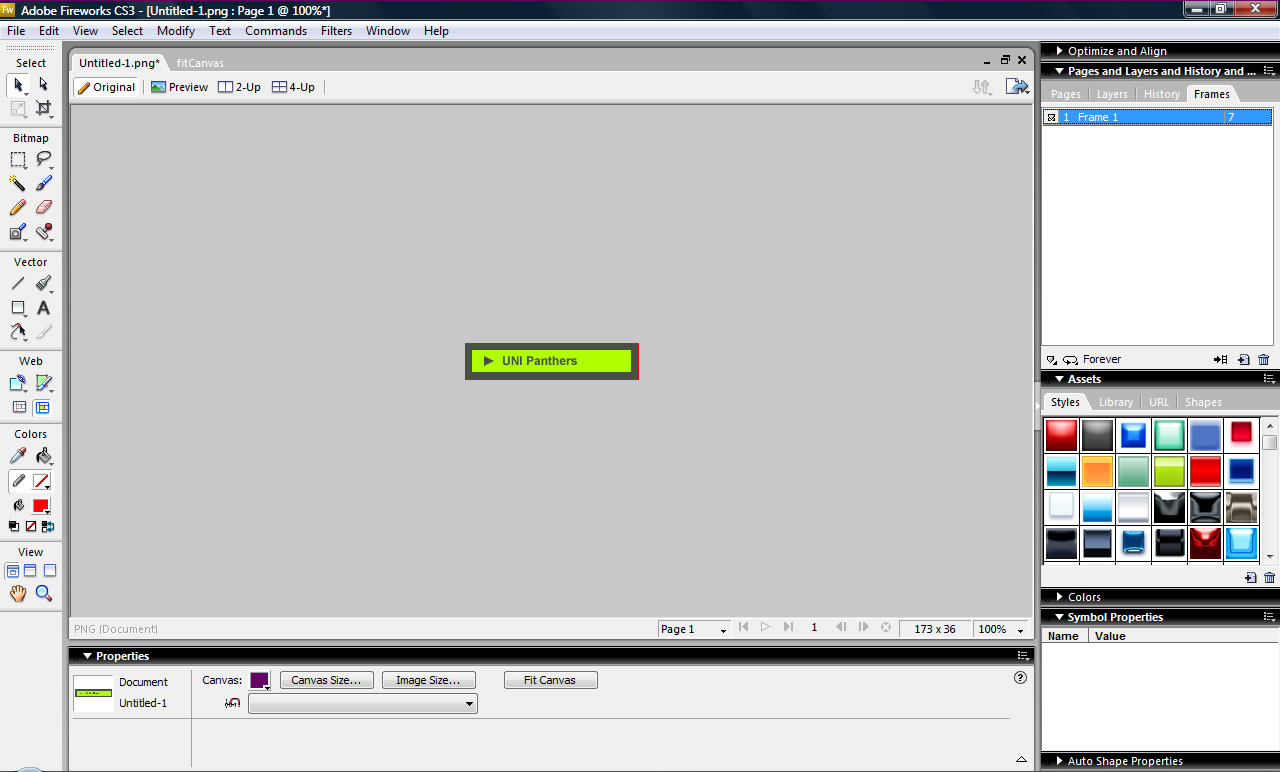
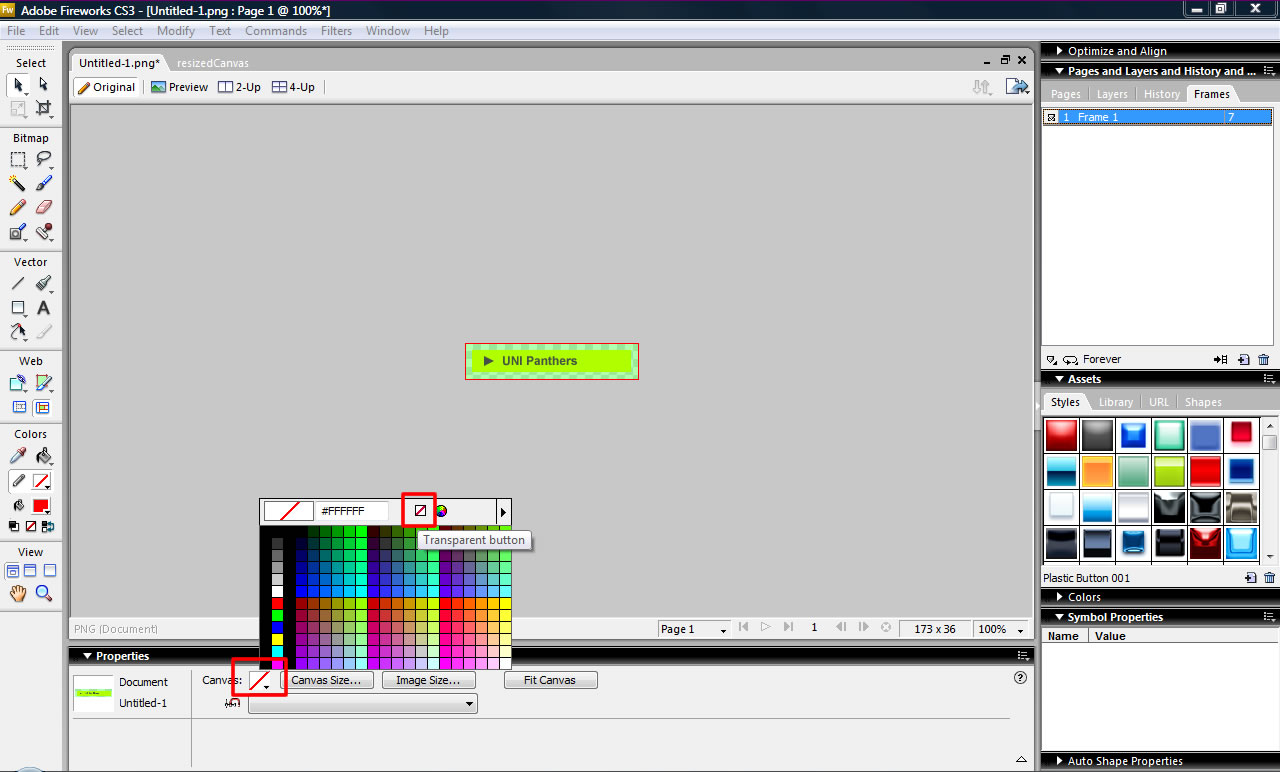
Once you have these two frames complete click the Done button at the bottom of the screen. This takes you back to your canvas. Check your button in a browser. Now you should be back in the main canvas. We will resize the canvas to fit the button. Click your Selection Tool and use it to click somewhere on the grey area of the canvas. This should give you some canvas options in the Property Inspector. Click the Resize Canvas button. This should shrink the canvas to the button. Now we will decide the color of the canvas. We change the color in the Property Inspector. If you are placing the button into an area with a background make the canvas the same color. If not, make the canvas transparent. This will give you only the button. You will know it’s transparent if you see a red line in the canvas color spot. |
Exit to Main Canvas
Fit Canvas
Canvas Resized
Transparent Canvas
|
Step Seven: Adding a Link and Alt Tag |
|
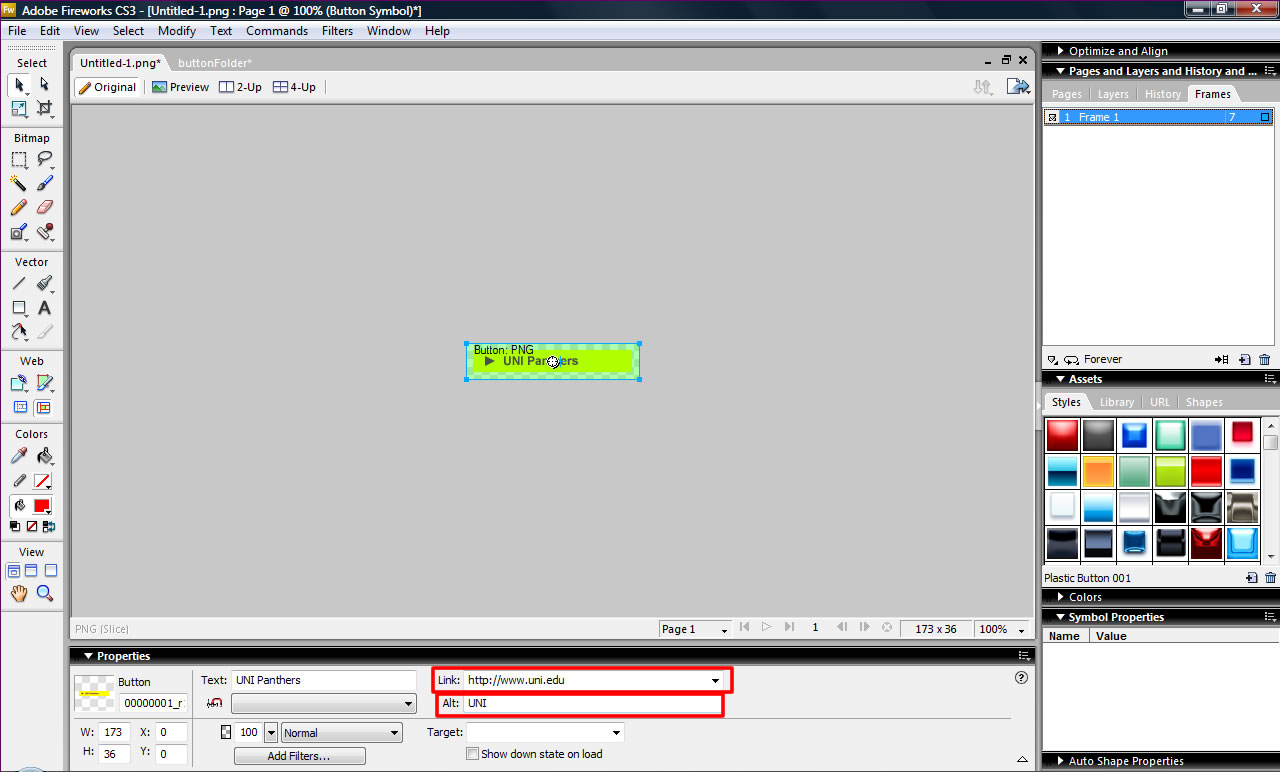
In this step we will add an alt tag and a link to our button. Click on the button with your selection Tool. You will notice a Link and an Alt field box. In the link box type in http://www.uni.edu. In the alt type in UNI. |
Adding a Link and Alt Tag
|
Step Eight: Export to Dreamweaver |
|
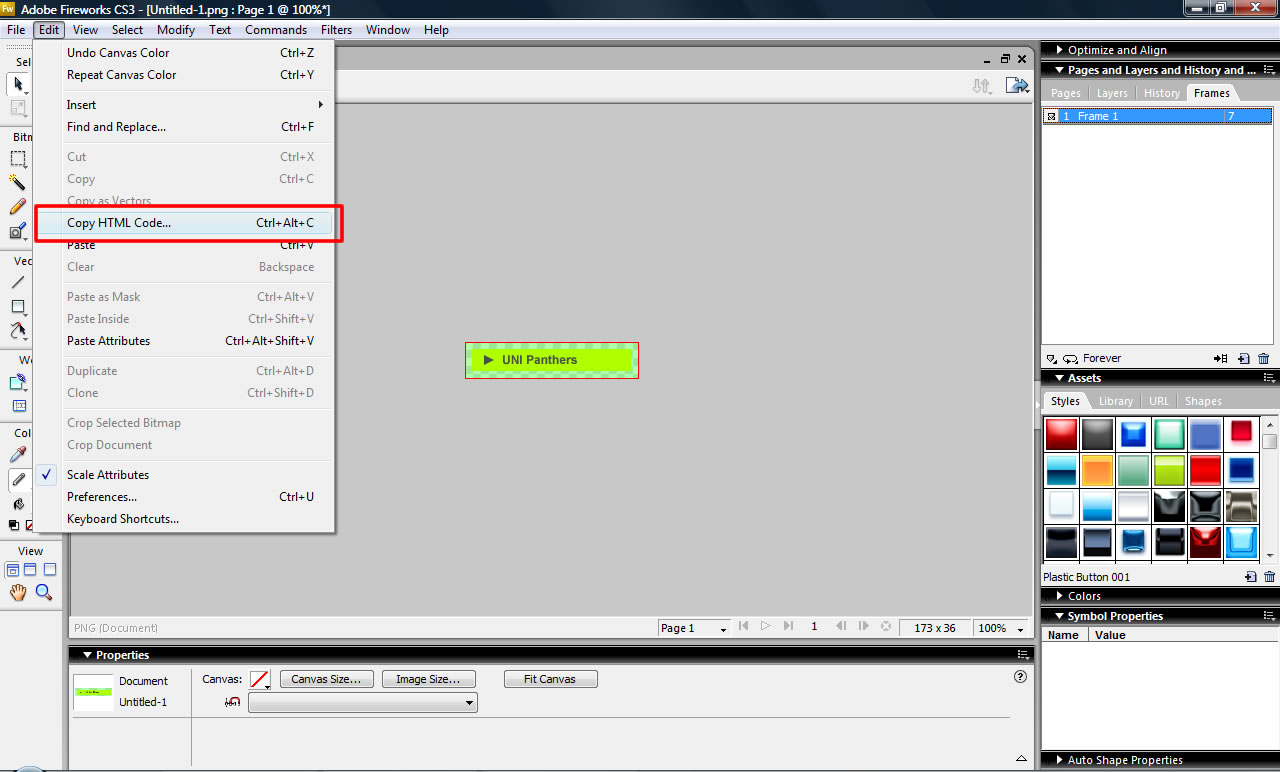
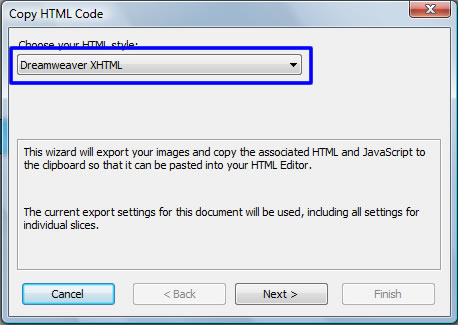
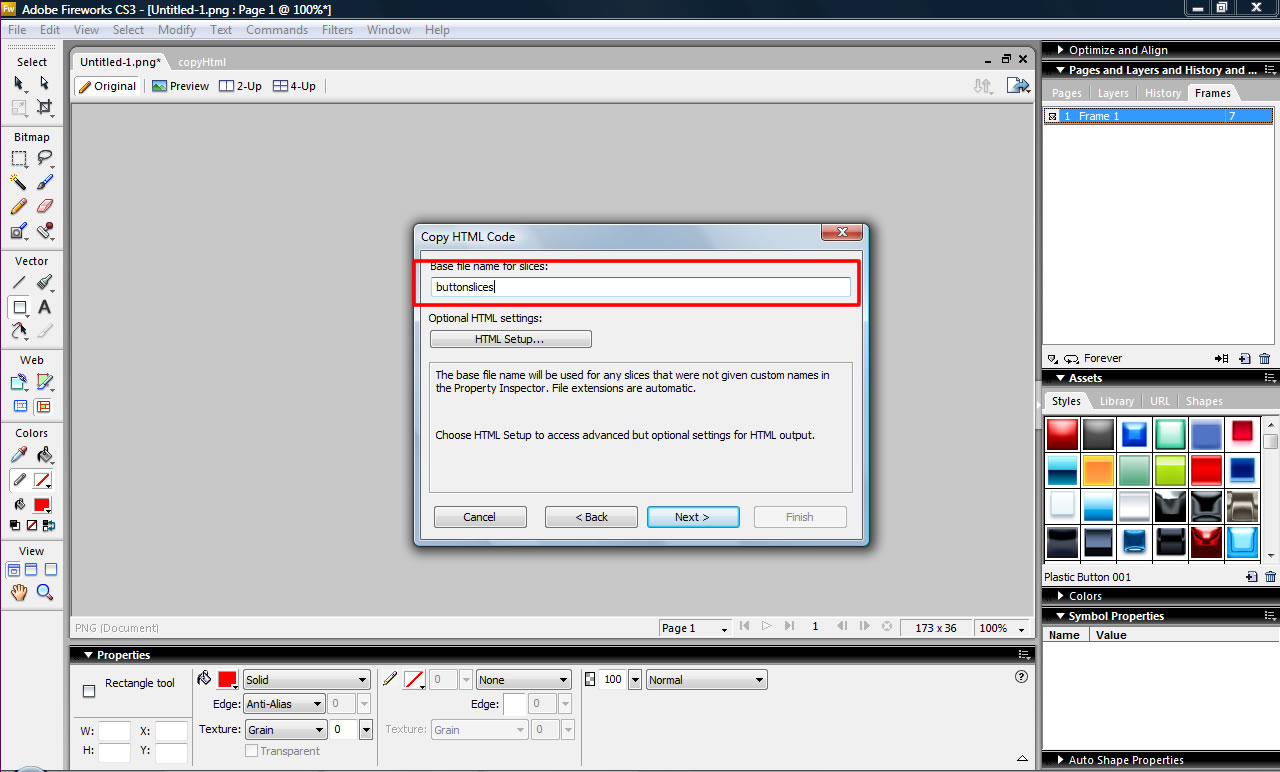
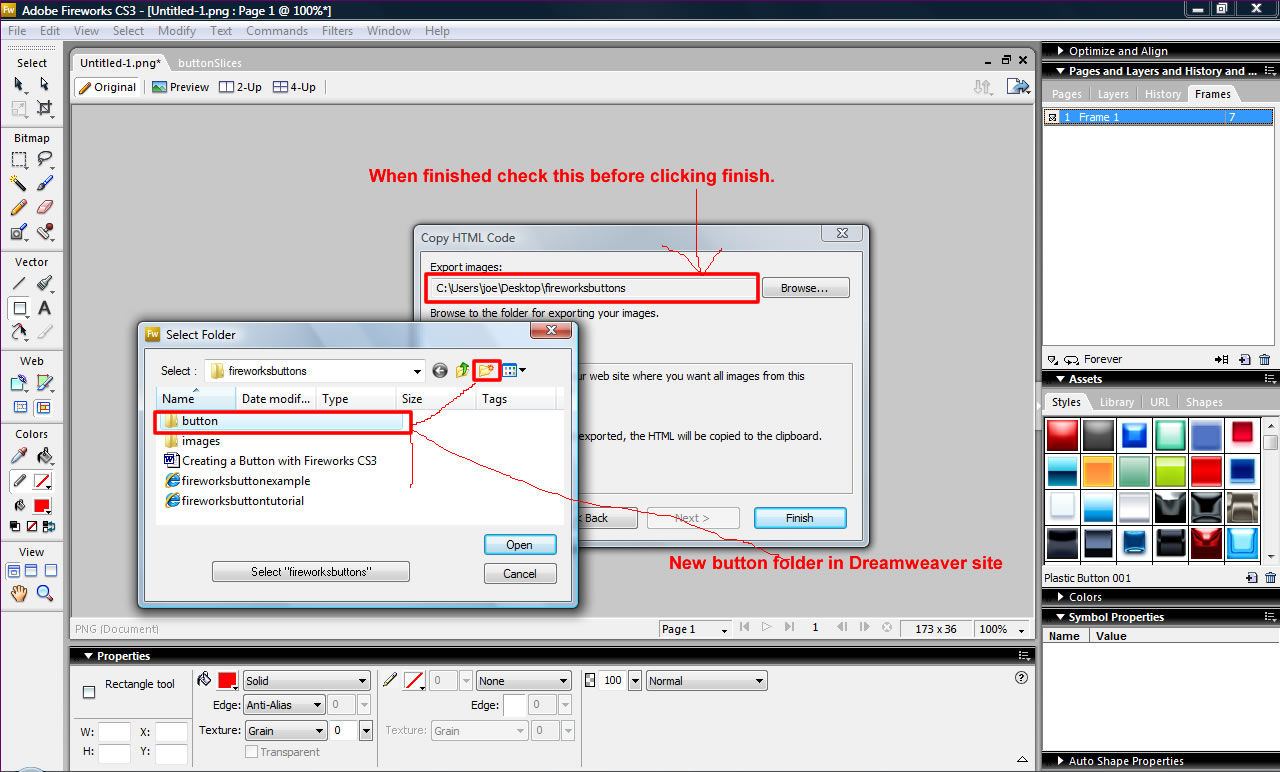
In this step we will export our button to Dreamweaver. The easiest way is to copy the HTML code. Go to Edit Menu-Copy HTML Code. This will bring up a wizard. Be sure your HTML style is XHTML and click next. It will next want to know what you would like to name your slices. Name them buttonslices. The next screen will want to know where you would like to place your slices. Click browse and find your folder that your Dreamweaver site is defined in. Create a new folder within this called button. When you are done go to Dreamweaver. Place your cursor where you want the button to go and right click. Select Paste HTML Code. The button should appear. Preview the site in your browser and check the button. |
Copy HTML Code
HTML Wizard
Naming Slices
New Folder
|